User manual (Part 1)
User interface basics
Screen architecture
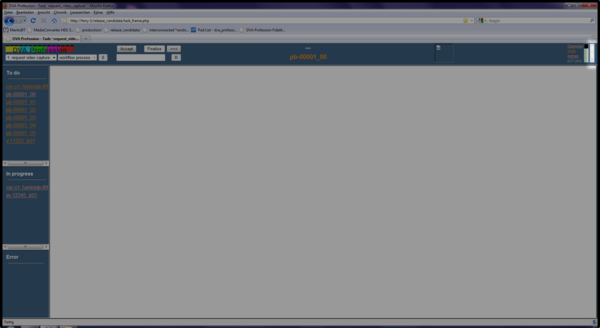
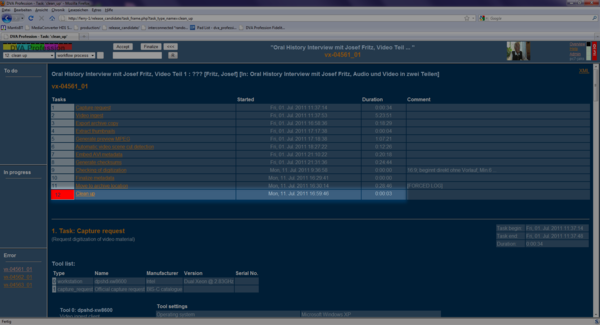
The screen consists of a set of frames. The top frame is the one where the main navigation and general monitoring takes place.
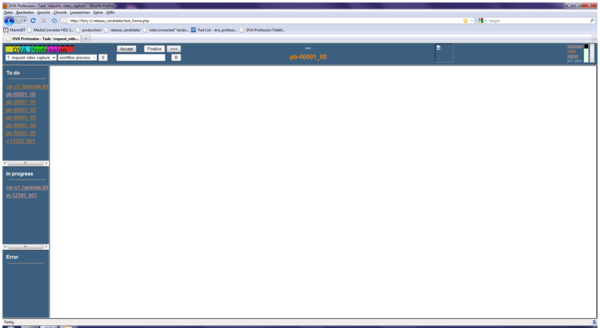
The basic user interface.
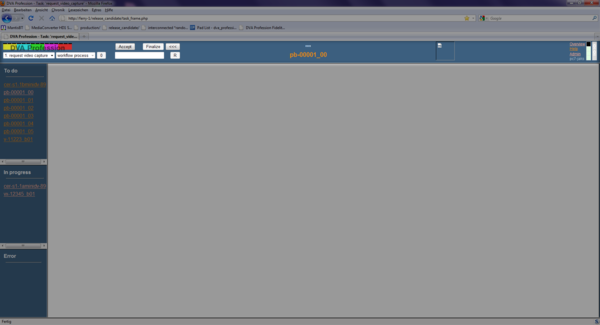
The control head-bar.

Task controls in the head-bar.
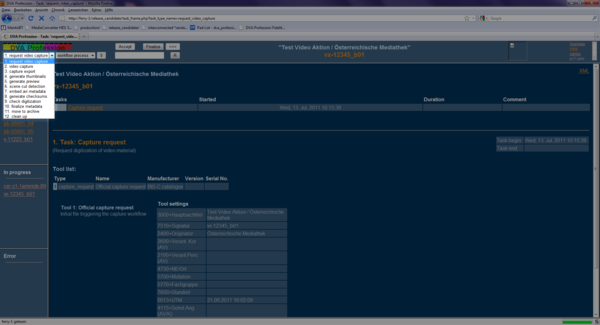
On the left hand side you find a drop-down menu named "Workflow task"(1) which you can use to choose the task that you wish to work in. To the right of it is the "Task action"-drop-down menu(2). You can use it to select the "action" that you wish to carry out within a certain task. To its right, there is the "custom action" button, which for example is used for importing capture-request files in the "request_video_capture" task(3). In the top frame right to the "capture-request-import"-button you find the button "Accept"(4). This one is used for navigation purposes. In order to carry out a certain action in a task you need to "accept" a signature: in the state "To Do" of the chosen task you click on the signature you wish to work on. Then click on the button "Accept". Now you will find the signature in the state "In progress".
Again right to the button "Accept" the "Finalize"-button is located (5). When your work on a certain signature in a specific task is done, click on "Finalize" and the signature will be sent to the next task in the state "To Do". Right to that you find a button "<<<" (6) which is used to put back a signature to the previous task. Putting back a signature does only work if the signature is in the state "To Do". Located underneath there is the "R"-button(7) which is used to reset a signature, which means that the signature will be removed from the state "In progress" or the state "Error" in the inbox of the task called "To Do". Left to the "R"-button you find a comment field (8) which you can use to leave a comment when you reset or finalize a signature. This comment will be written to the process metadata to be archived.

The right part of the control head-bar.
In the center of the top frame the title (1) (in the "Admin"-page which is explained later on you can adjust the maximum number of characters) of the video to be digitized and the according signature is displayed. Putting the mouse over the title a mouseover will show up displaying the whole title. Right to that you will find a thumbnail (2) representing the video which helps to identify a video on a quick look. This thumbnail is only available after the task "generate thumbnails". Additionally the mouseover of the thumbnail shows the approximate duration of the video.
On the right hand side of the top frame you will find the links "Overview", "Help" and "Admin" which will be explained in detail later on (3). Beneath that the name of the workstation that you use is displayed. Further right is the "Disk space control" (4). Usually a workstation will show 4 green squares, displaying the disk space left on the following devices:
- Local workstation
- Current transcoding server (ferry)
- Final storage #1
- Final storage #2
Again the mouseover on the squares will tell you about its workstation, foldername and disk space situation. If the disk space is approaching certain limits, the squares will change their colour: green - yellow - orange - red If a square is black, that means that the ferry cannot access the given disk location and is therefore unable to evaluate its disk space. On the very right of the top frame you find the "Error monitoring"(5). Usually this rectangle will be grey showing the number "0" twice, one in each row. In case that an error has occured before the task "check digitization" the number of the signatures that went on error are displayed on top. If the error occurred after the check it will be displayed on the bottom. You can click on these numbers to access the "Overview".
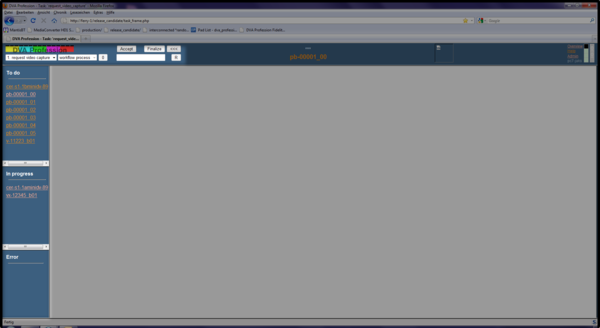
The next default frame to be described here, is on the left hand side of the screen. It is divided in three parts, named "To Do", "In progress" and "Error". These represent the state of a signature during a certain task. (More of that in the section "navigation".)
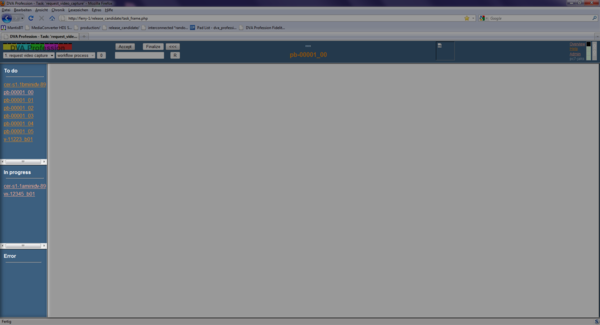
Items in different states of a task: "todo", "in progress", "error".
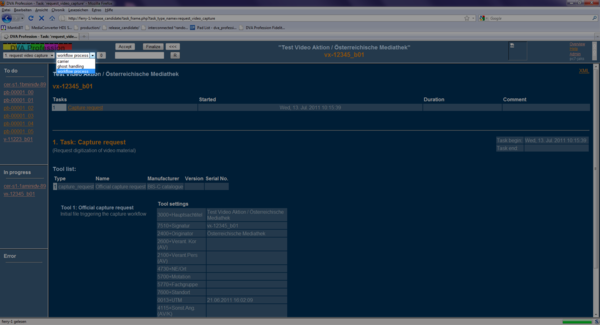
The frame on the right hand side is by default hidden and only "peeks out" a few pixels. You can pull the right border to reveal the "Workflow notes"- frame. In the drop-down menu on top you can select what kind of comment you would like to edit:
- "task comment" (which is going to be kept as metadata)
- "temporary workflow note" (which provides the operator with an opertunity to take notes regarding a signature while it is in the workflow but this will not be preserved)
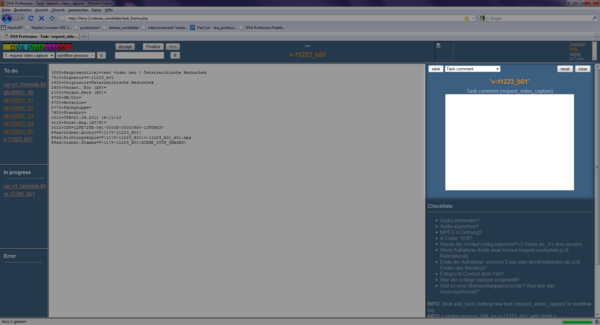
Task comment field.
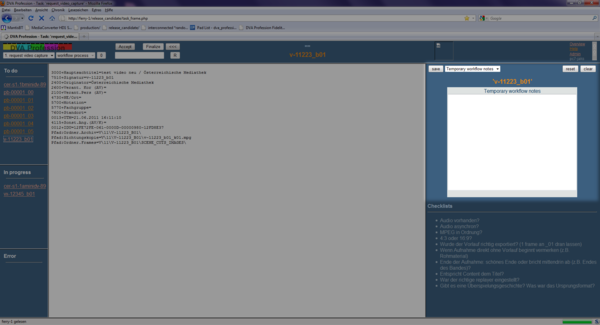
Temporary workflow notes.
Underneath the text area there is space for checklists that can be freely defined and edited by an operator on the "Admin" page.
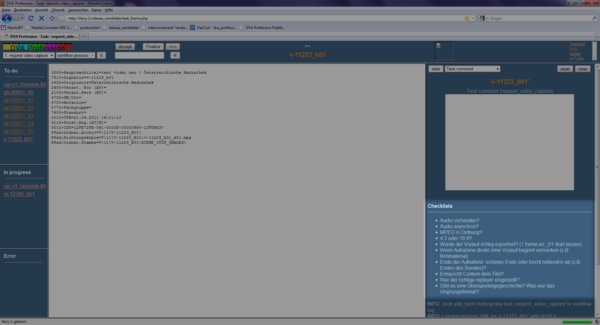
Workflow checklists.
The largest frame at the center of the screen is called the "main" frame. Whatever action you choose or whatever link you click, its content will most likely be displayed in here.
Navigation
In order to navigate in the default frame set you use the "Workflow task"-drop-down menu in combination with the "Task action"-drop-down menu. You first select the task you wish to conduct and then an action of that task.
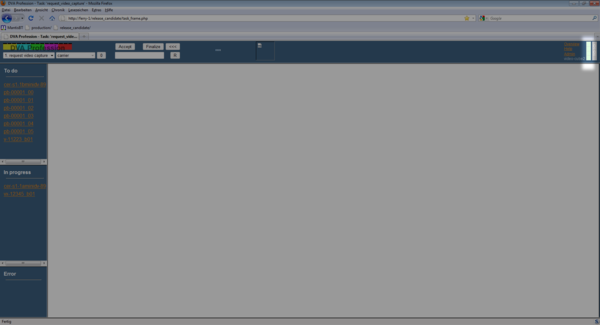
The workflow-task drop-down menu.
The task-action drop-down menu
The location of a signature in the workflow - which means from one task to another and from one state in a certain task to another state - can be conducted in two ways:
- Single signature: Directly in the default frame set.
- Multiple signatures: Using the "Overview" page.
1) Directly in the default frame set
The more commonly used option is to navigate directly in the default frame set. Therefore you use the left frame of the screen and the buttons "Accept", "Finalize", "R" (reset) and "<<<" (put back to previous task).
For example:
The signature of the video that you wish to digitize is currently in the first task "request video capture" in the state "To Do". To go on with the processing of the task click on the signature. Right away the signature is displayed in the center of the top frame to show the currently selected signature. Click the "Accept"-button. The signature will appear in the state "In progress". Now you can go on with the processing of the video by selecting the actions of the task and conduct the required steps. When you are done press the button "Finalize". The signature will disappear from the task "request video capture" and will appear in the state "To Do" of the following task. In order to go on processing this signature you have to select the task that the signature is in. Use the "Workflow task"-drop-down menu to select the required task. In our case this would be task 2 "video capture".
If you need to conduct a task again (e. g. when an error has occurred) you select the signature by clicking on it and then press the "R"-button. The signature will leave its current state (either "In Progress" or "Error") and will show up in the inbox of the current task called "To Do".
If you need to execute a task previous to the one that the signature is currently in, select the signature (click on it) and make sure that the signature is in the state "To Do". If the signature is "In progress" or in "Error" reset it by pressing "R". Now that the signature is in "To Do" you can put it back to the previous task by pressing the "<<<" button. This way you can easily send a signature through the various tasks of the workflow.
2) Using the "Overview" page
The convenient way for controlling a selection of several signatures or a signature the whole way from a later task to the beginning is the "Overview" page.
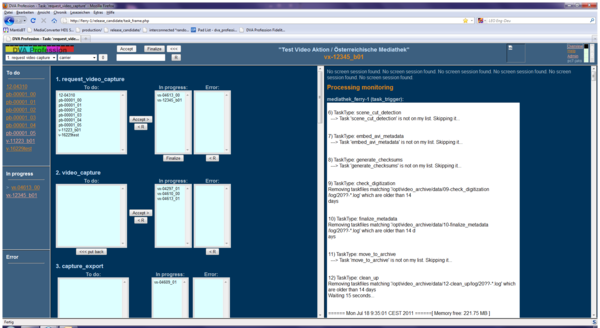
You can access it by either clicking on the link "Overview" or on the numbers of the "Error monitoring" of the default frame set. The difference between these two options is that when accessing the "Overview" by clicking on "Overview" an additional frame opens up called "Processing monitoring" where you can monitor the activities of the ferry. The "Overview" displays all tasks and states of the whole workflow and all the signatures within (as the name indicates it is an "overview"). You will find all the tasks listed one after another. Every task shows three boxes. The first one is the state "To do", the second "In progress" and the third "Error" - it is exactly the same structure used for the navigation in the default frame set. Additionally you find the buttons "Accept", "R", "Finalize", "Reset" (which is in this case only used to reset errors) and "<<< put back". The navigation works the same way as mentioned above: Firstly select the signature (or several signatures - which is one of the main advantages of the "Overview") and click on the appropriate button. For resetting errors in the "Overview" there is a seperate button. Click on it and all the signatures which were selected in the error box will be reset.
Note: It is recommended not to select more than four signatures at a time.
Workflow monitoring
In order to monitor the rightfull processing of the workflow the operator has several tools to work with.
Error monitoring
You find the "Error monitoring" in the right corner of the top frame. There are two numbers displaying errors before and after the task "check digitization":
- upper one: the number of signatures that had errors before the task "check digitization"
- lower one: the number of signatures that had errors after the check.
If everything is ok, the numbers will both be "0" and their background area will be grey - keeping this error display optically very decent.
If an error has occurrred, the area will turn red, asking for your attention. It is not only intended to spot errors easily that way, but it also avoids any problems in the workflow to be silently overseen.
Disk space monitoring
Further right is the "Disk space control". Usually a workstation will show 4 green squares, displaying the disk space left on the following devices:
- Local workstation
- Current transcoding server (ferry)
- Final storage #1
- Final storage #2
Again the mouseover on the squares will tell you about its workstation, foldername and disk space situation. If the disk space is approaching certain limits, the squares will change their colour: green - yellow - orange - red. For regular operation, all 4 squares should be green:
If a square is black, that means that the ferry cannot access the given disk location and is therefore unable to evaluate its disk space:

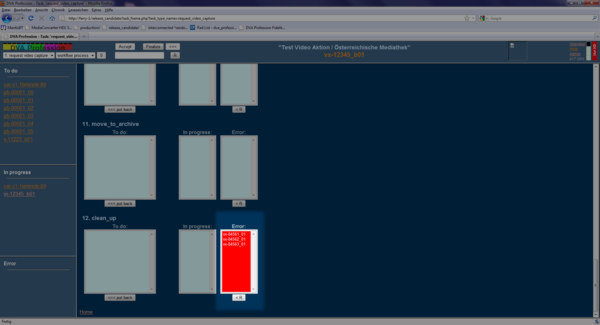
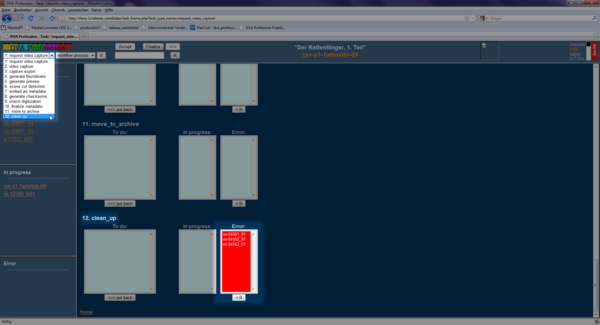
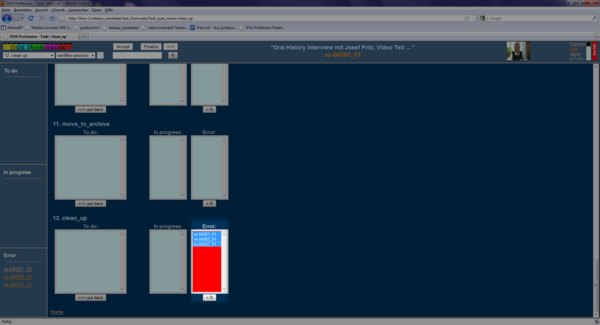
Overview
When clicking on one of the numbers of the "error monitoring" you access the "Overview". If an error has occurred the "error"-box of the regarding task is coloured in red so that it is easy to spot.
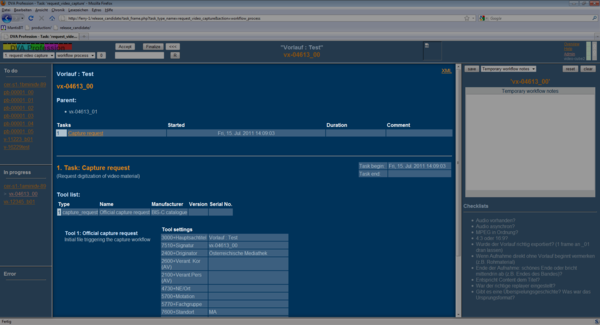
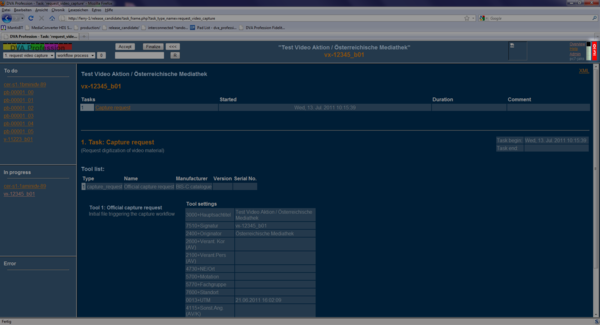
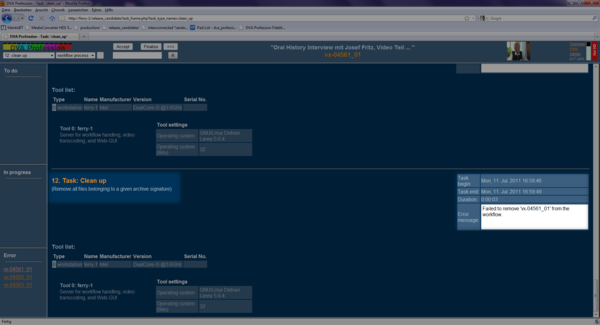
Workflow process
Additional to the other tools that draw the operator's attention to an occurring error the action "workflow process" helps by marking the regarding task in red. Click on the name of the task and the specific information regarding this task including the error message will be displayed.
Example for the use of the error monitoring
When an error has occurred the operator sees that the color of the error control has changed its color to bright red.
Click on the number of the "error monitoring". Now the overview will be displayed where you can easily find out in which task the error happened.
Go to the task with the regarding signature by using the "task"-drop-down menu.
Click on the signature that is in error. Select the action "workflow process". The task where the problem happened is marked red in the workflow sheet.
Click on the name of the red marked task. Read the error message.
As soon as the cause of the problem is eliminated reset the signature by selecting it and pressing the "R"-button or resetting it by using the overview if there are a few affected signatures.

If the task is a manual one you need to accept the signature again by selecting it and pressing the "Accept"-button. If it is an automatic task it will accept it automatically.
Workflow notes
The "workflow notes"-tool is located in the frame on the right hand side of the screen. This tool was developed because experience showed that it is vital for an operator to take notes regarding a certain signature during the whole workflow process. It serves as an aid to memory to the operator who has processed it. But it is also helpful for the communication between operators: the "workflow notes" can provide other operators with specific information on a signature that was not processed by themselves.
There are two catagories of "workflow notes":
- The "task comment".
- The "temporary workflow notes"
On top of the "workflow note"-frame you find a drop-down menu where you can set which sort of note you want to take.
Task comment field.
Temporary workflow notes.
The "temporary workflow note" will accompany the signature throughout the whole workflow but it will not be preserved after the signature leaves the workflow. So it is really only a place for temporary notes. The "task comment" only regards the selected task. The information that you type in will be preserved in the metadata.
Below the notepad you find the checklists. They serve as a list of "do not forget"-issues. They can be adjusted freely to your needs in the "Admin"-page.
Workflow checklists.
Admin
In the right corner of the top frame you will find the link "Admin". On this page various adjustments can be made to the DVA-Profession system as far as they are allowed for an operator to perform.
User interface configuration
The opening page of "Admin" shows on top the "user interface configuration".
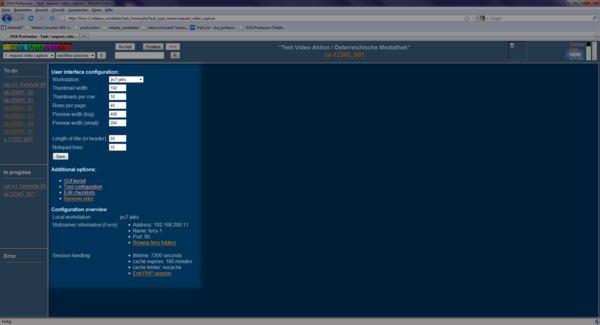
Firstly it is important to set the right name to the current workstation. You are required to do so when you open the DVA-profession web interface for the first time. The drop-down menu called "workstation" lists all the computers that have been configured as part of that DVA-Profession setup. All different types of workstations are listed there: ingest clients, ferry servers, etc.
The following settings are used for customizing the image layout of thumbnail preview actions, such as "minute view" and "scene cuts":
- Thumbnail width
- Width of the small images in the image overview frame
- Thumbnails per row
- Number of small images displayed per row
- Rows per page
- Number of rows displayed on a single page in the overview frame
- Preview width big
- Width of the larger sized display of the currently selected thumbnail image
- Preview width small
It is also possible to regulate the numbers of characters that are used for displaying the title in the top frame: "length of title (in header)". "Notepad lines" will set the numbers of lines used for the "workflow notes" in the right frame. Which can be convenient if you need more space to display the checklists located below the notepad. On every workstation the interface can be adjusted to the likes and needs of each operator, regardless how many users use the same workstation, as those settings are stored in browser cookies. Listed under "additional options" you can adjust the GUI layout, configure the tools used in a certain task, edit the checklists of the notepad and remove an entry.
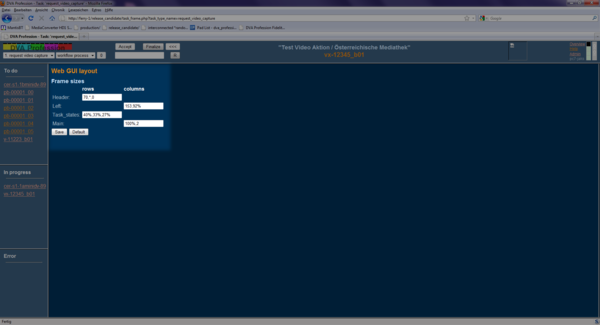
GUI layout
Adjusting the GUI layout is quite easily done. Enter the link "GUI layout" in the "Admin"-page. Now pull the borders so that they fit your likes and press the button "save". If you want to restore the default settings press "Default".
Tool configuration
"Tool configuration" allows you to set all the tools used by a workstation in order to perform a certain task.
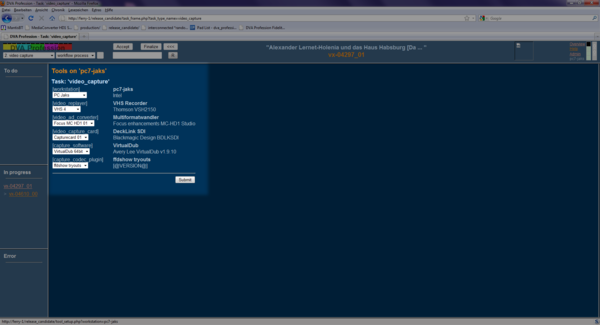
Configuring this correctly is very important for the coding history and processing log stored in the final metadata. For example in the task "video capture" you can set the following tools:
- workstation name
- video replayer
- A/D-converter
- capture card
- capture software
- capture codec plugin
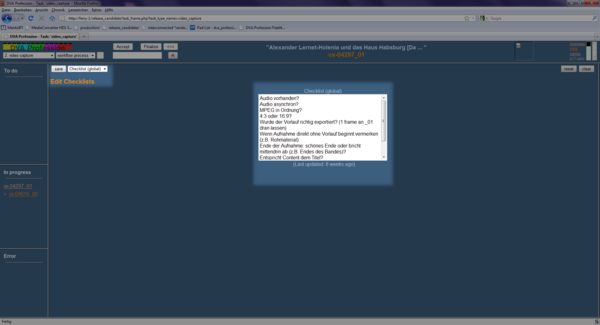
Checklist
For editing the checklist used for the workflow notes just click on the link in the "Admin"-page. Type it in and save. With the button "clear" you can delete everything written in the box - with "restore" you can regain the previous content.
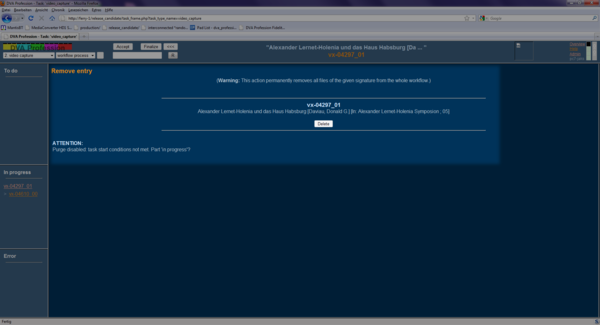
Remove entry
"Remove entry" completely removes all files related to the selected signature from the workflow. This functionality is intentionally not accessible from the default frameset in order to make sure that it is not executed accidentally. After selecting a signature by clicking on it, click on "remove entry" in the "Admin"-page and press "delete". It does delete all files of the given signature from the whole workflow. A signature must meet certain conditions in order to be deleted:
- It must be in the state "To Do"
- It must neither be a ghost, nor have any ghosts assigned/attached to it
- If the signature is in a ghost/parent relationship, it has to be resetted to the "request video capture" task and in doing that be unlinked from all others.